If you are like me (a bit of a perfectionist and slightly OCD), then you will love this technique for creating an invisible join when working in the round. The invisible join mimics the "V" look of a regular stitch so that it blends in and you can't see the beginning or end of a round. I use this on all of my hats and amigurumi pieces.
I'll teach you how to do it in three easy steps!
This replaces the slip stitch normally done at the end of your project.
Step 1 - Cut the yarn tail
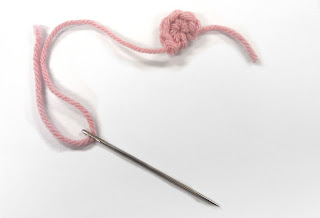
Cut the yarn and pull the final loop so that the tail comes completely through. Thread the tail onto a yarn needle so that it looks like the picture below. The length of your tail will be based on the pattern. If the pattern says leave a long tail for sewing, then cut a long tail. If the instructions are to weave in ends, then you can leave a shorter tail.Step 2 - Mimicking the Front Half of the V-Stitch
Insert the yarn needle (front to back) through the first stitch in the round. This is the stitch where you would have normally completed the slip stitch.
 |
| This step creates the front loop of the Invisible Join. |
Step 3 - Mimicking the Back Half of the V-Stitch
Insert the yarn needle from front-to-back into the final stitch of the round. You will go down through the middle space and go under the back loop. | |
|
When to Use This Technique
I use this technique for every edge piece. I used it is here on the tiny coins for my pot of gold. Don't those gold coins look perfect?
I also use this technique on hats, beanies and photography props so that there isn't an obvious end to the project. I like the edges to be uniform.


No comments:
Post a Comment