

In Part 1: How to Create a Paintbrush in the Gimp, I showed you how to take an image and turn it into a paintbrush.
In Part 2, I will teach you how to use paintbrushes by showing you how I created the "Tutorial" button above. Do not let the number of steps below overwhelm you. It really is quite simple and just a few mouse-clicks. I am known for over-explaining things. If you have a question, please ask! I love to share knowledge!
Here are the supplies you need:
1. The GIMP (free download link)
2. A couple of paintbrushes (refer to Part 1: How to Create a Paintbrush in the Gimp)
3. Your Font choices

Step 1: Create a new file in the Gimp. Any size will do, but 600 px wide X 400 px high is a decent size.
Step 2: Select the Paintbrush tool from the Toolbox.
- Select the shape from the "Brushes" dialog box.
- Select the scale by increasing and decreasing the slider on the scale.

Step 3: Click & release on the workspace where you want the image to stay. You can try to center it perfectly (or you have an option for cheating in Step 4).

Step 4 (optional): To center it perfectly, we will crop the image around the shape.
- With the "Fuzzy Border Tool" selected, click the white background space
- From the Select menu, click "Invert"
- From the Image menu, click "Crop to Selection"


Step 5: Repeat Steps 2 and 3 for each additional image you want to add

At this point, the only thing left is to save it. Go to the "File" Menu, click "Save a Copy".
Choose .jpg as the file type.

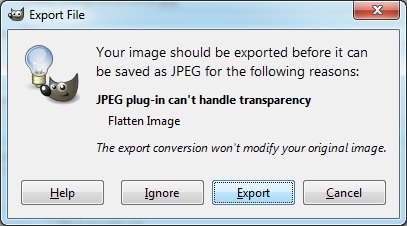
Click "Export" if the screen below pops up:
When this screen pops up, click "Save":

And, now you have a beautifully designed image!

Credits:

A huge thank you to Sugarflies Designs for allowing me to use her images in this tutorial. She designed both the whimsical outline shape and the cute, little owl.
Check out her beautiful designs in her her Etsy store and become a fan on Facebook.


